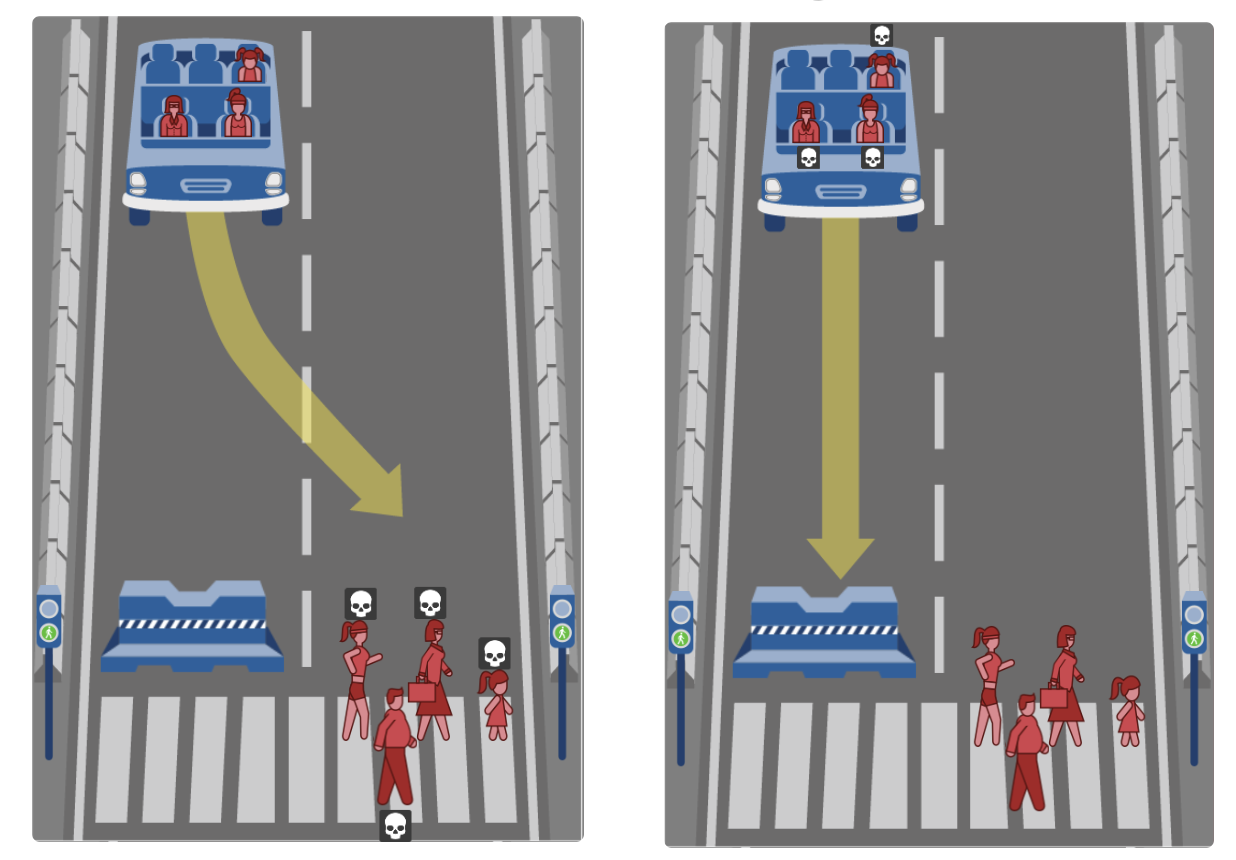
Teluta's Person Model

Scenario: Teluta’s Autonomous Cars
Teluta - an autonomous vehicle company - has made extraordinary strides in self-driving cars and is ready to go to market. But there is a corner case that needs to be addressed. In the rare instances in which Teluta vehicles can sense an impending crash, they need a mechanism to quickly assess and value human life. That is, the car must rapidly choose who to save.
While prioritizing who to save will be decided by other employees of the company, your job is to decide which factors should be considered by their algorithms. To do this, you’ll use object-oriented programming to create a template for Teluta that models a person.
Familiarize yourself with the Moral Machine
Visit MIT’s Moral Machine. From their website:
From self-driving cars on public roads to self-piloting reusable rockets landing on self-sailing ships, machine intelligence is supporting or entirely taking over ever more complex human activities at an ever increasing pace. The greater autonomy given machine intelligence in these roles can result in situations where they have to make autonomous choices involving human life and limb. This calls for not just a clearer understanding of how humans make such choices, but also a clearer understanding of how humans perceive machine intelligence making such choices.
Briefly, the Moral Machine is an online simulator that lets you experiment with the kinds of scenarios that Teluta outlined above.

Click the Start Judging buttons and make yourself go through a handful of scenarios. Consider the different characteristics of people and animals that are represented in the demonstration.
Identifying Characteristics
On a sheet of paper (or in a file) write the following:
- A list of all the characteristics about entities (people or animals) that you think should be represented in your program.
- For each characteristic, identify the type of data that will be stored (
string,int,float,list). - For each characteristic, identify what the possible values might be for this attribute
- For example, if you kept track of
years_old, you might say that it is a positive integer from0to100.
- For example, if you kept track of
Compare your list with a classmate. What similarities did you have? What differences? Record what drove those differences.
From Visuals to Code
Now that you’ve run through the scenarios a few times, let’s take a look at some code. We’re going to practice object-oriented programming design and construct a Person class
(NOTE: our Person can actually be an animal too. This representation is best done through inheritance relationships, but at this point, we’ve constructed this assignment to fit very early exposure to OOP. Feel free to modify to fit your own circumstances!)
Your code will accomplish two different goals:
- It will articulate all your characteristics as attributes of the
Personclassmate- Example below:
self.charTyperepresents the ‘character’ type each entity - whether it is a person or an animal. You should include more characteristics. - For each attribute, give it a default parameter of
Nonein the constructor (__init__).
- Example below:
- It will allow for the creation of a randomly generated
Person.- Once completed, typing
person = Person()should generate an entity with random attributes. - Currently, our
CHAR_TYPESvariable contains not only the possible values forself.charType, but also lists them in the same probability with which they appear. For example,CHAR_TYPEScontainshuman6 times andcatanddog1 time each. That means thathumanis 3x more likely to appear if someone uses this code to generate a random person. This also forces you to externalize the possible values you generated earlier and represent them directly in your code.
- Once completed, typing
class Person:

  CHAR_TYPES = ["human", "human", "human", "human", "human", "human", "dog", "cat"]

  # Constructor - you'll need to add more parameters than this
  def __init__(self, charType=None):
    self.charType = charType
    if charType is None:
      self.charType = random.choice(self.CHAR_TYPES)
Once you feel comfortable with your code, feel free to move onto part 2.